Getting Started
Getting started with Melony is quick and easy. The fastest way to begin is by cloning our starter repository, which provides a pre-configured environment with all the necessary dependencies.
Quick Start
- Clone the Melony starter repository:
- Install Dependencies
- Run the Development Server
- Open http://localhost:3000 with your browser to see your Melony application in action.
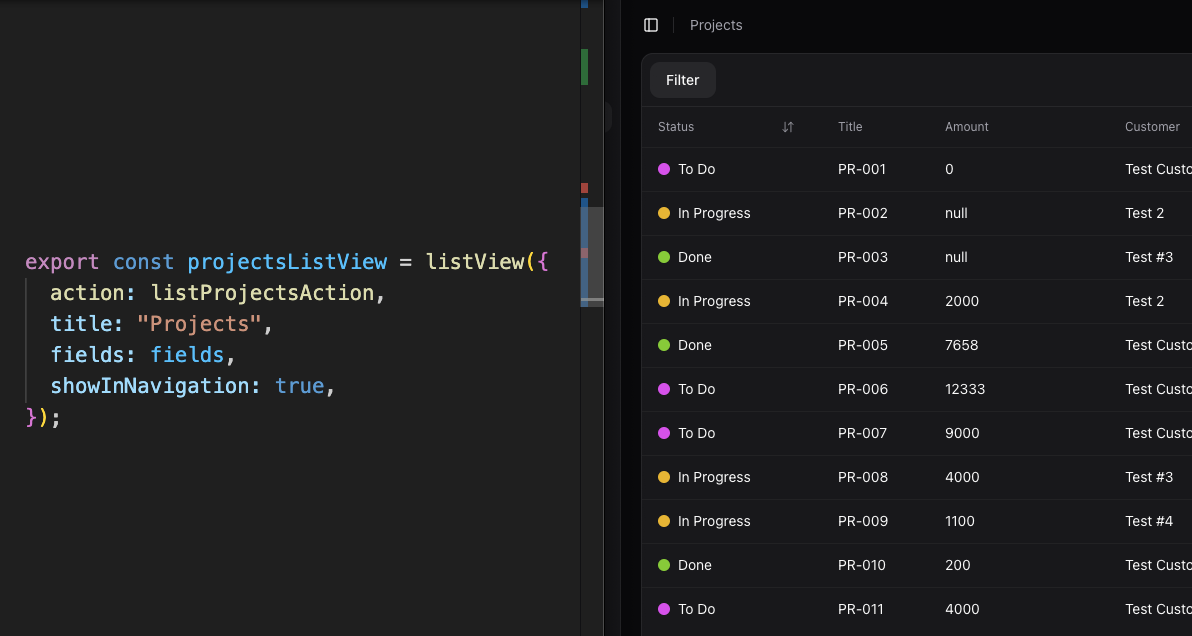
Creating Your First View
Melony makes it incredibly easy to create views for your internal tools. Here's a simple example of how to define a view:
This example creates a table component for users with filterable fields, header and item buttons, and navigation settings. The listUsersAction is a server action that fetches the user data.
With just this simple definition, Melony will generate a fully functional user interface for listing users, complete with filtering, pagination, and navigation to other views.